
Category: Fine art nude
Keywords: fine art nude photography, mastering nude photography, nude photography lighting, posing nude model, post-processing fine art nudes
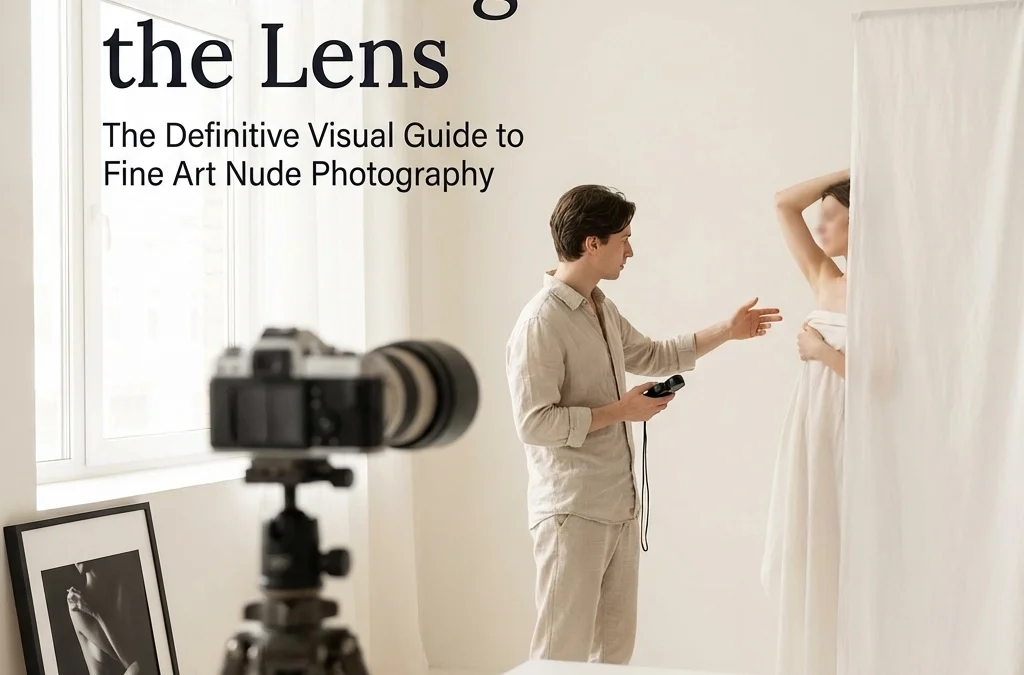
Fine art nude photography is all about sculpting shape with light, creating intention with composition, and working with your model in a way that feels respectful and collaborative. If you’re here to start mastering nude photography (or to tighten up your process), this guide walks you through the core moves that consistently level up results.
If you want a steady stream of tasteful inspiration and real-world examples to learn from, you can jump into the full galleries and tutorials inside the club with a quick sign-up here and start studying what actually works frame-to-frame.
2) What “Fine Art Nude Photography” Really Means (and how to shoot it)
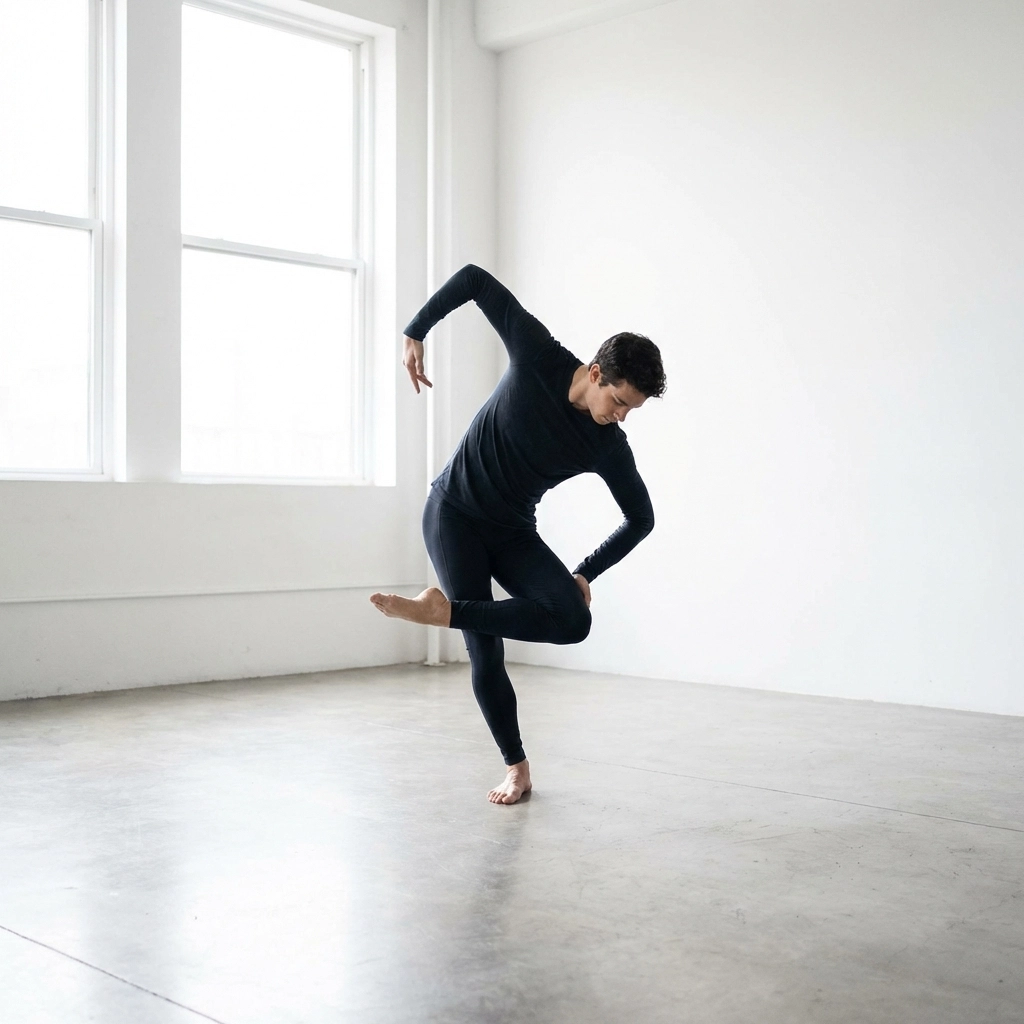
Fine art nude photography isn’t “anything nude in a nice light.” The fine art part comes from intent: shape, gesture, rhythm, negative space, and a look that feels deliberate rather than accidental.
A simple way to sanity-check your frame:
- Start with the idea, not the skin. What’s the photo about—curve, tension, softness, strength, symmetry, isolation?
- Use negative space on purpose. Clean backgrounds and breathing room make the body read as form, not clutter.
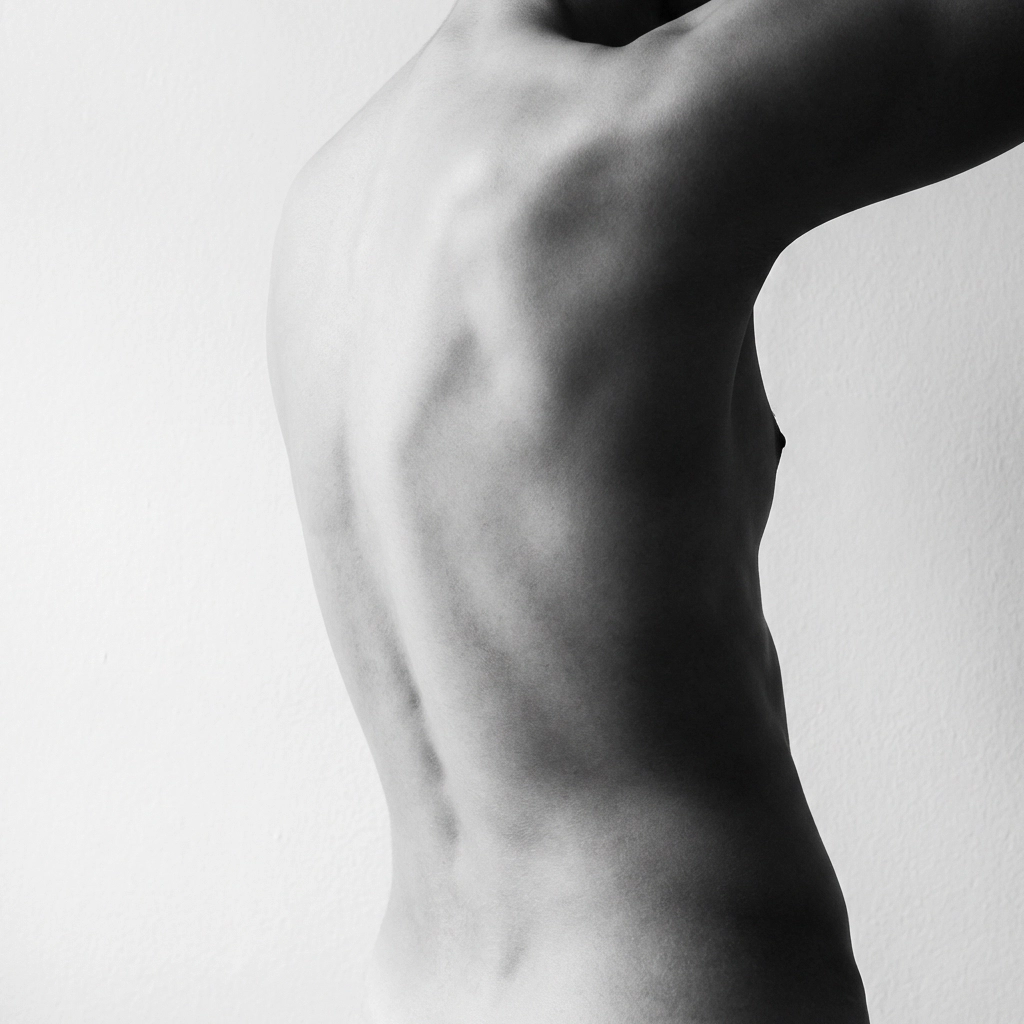
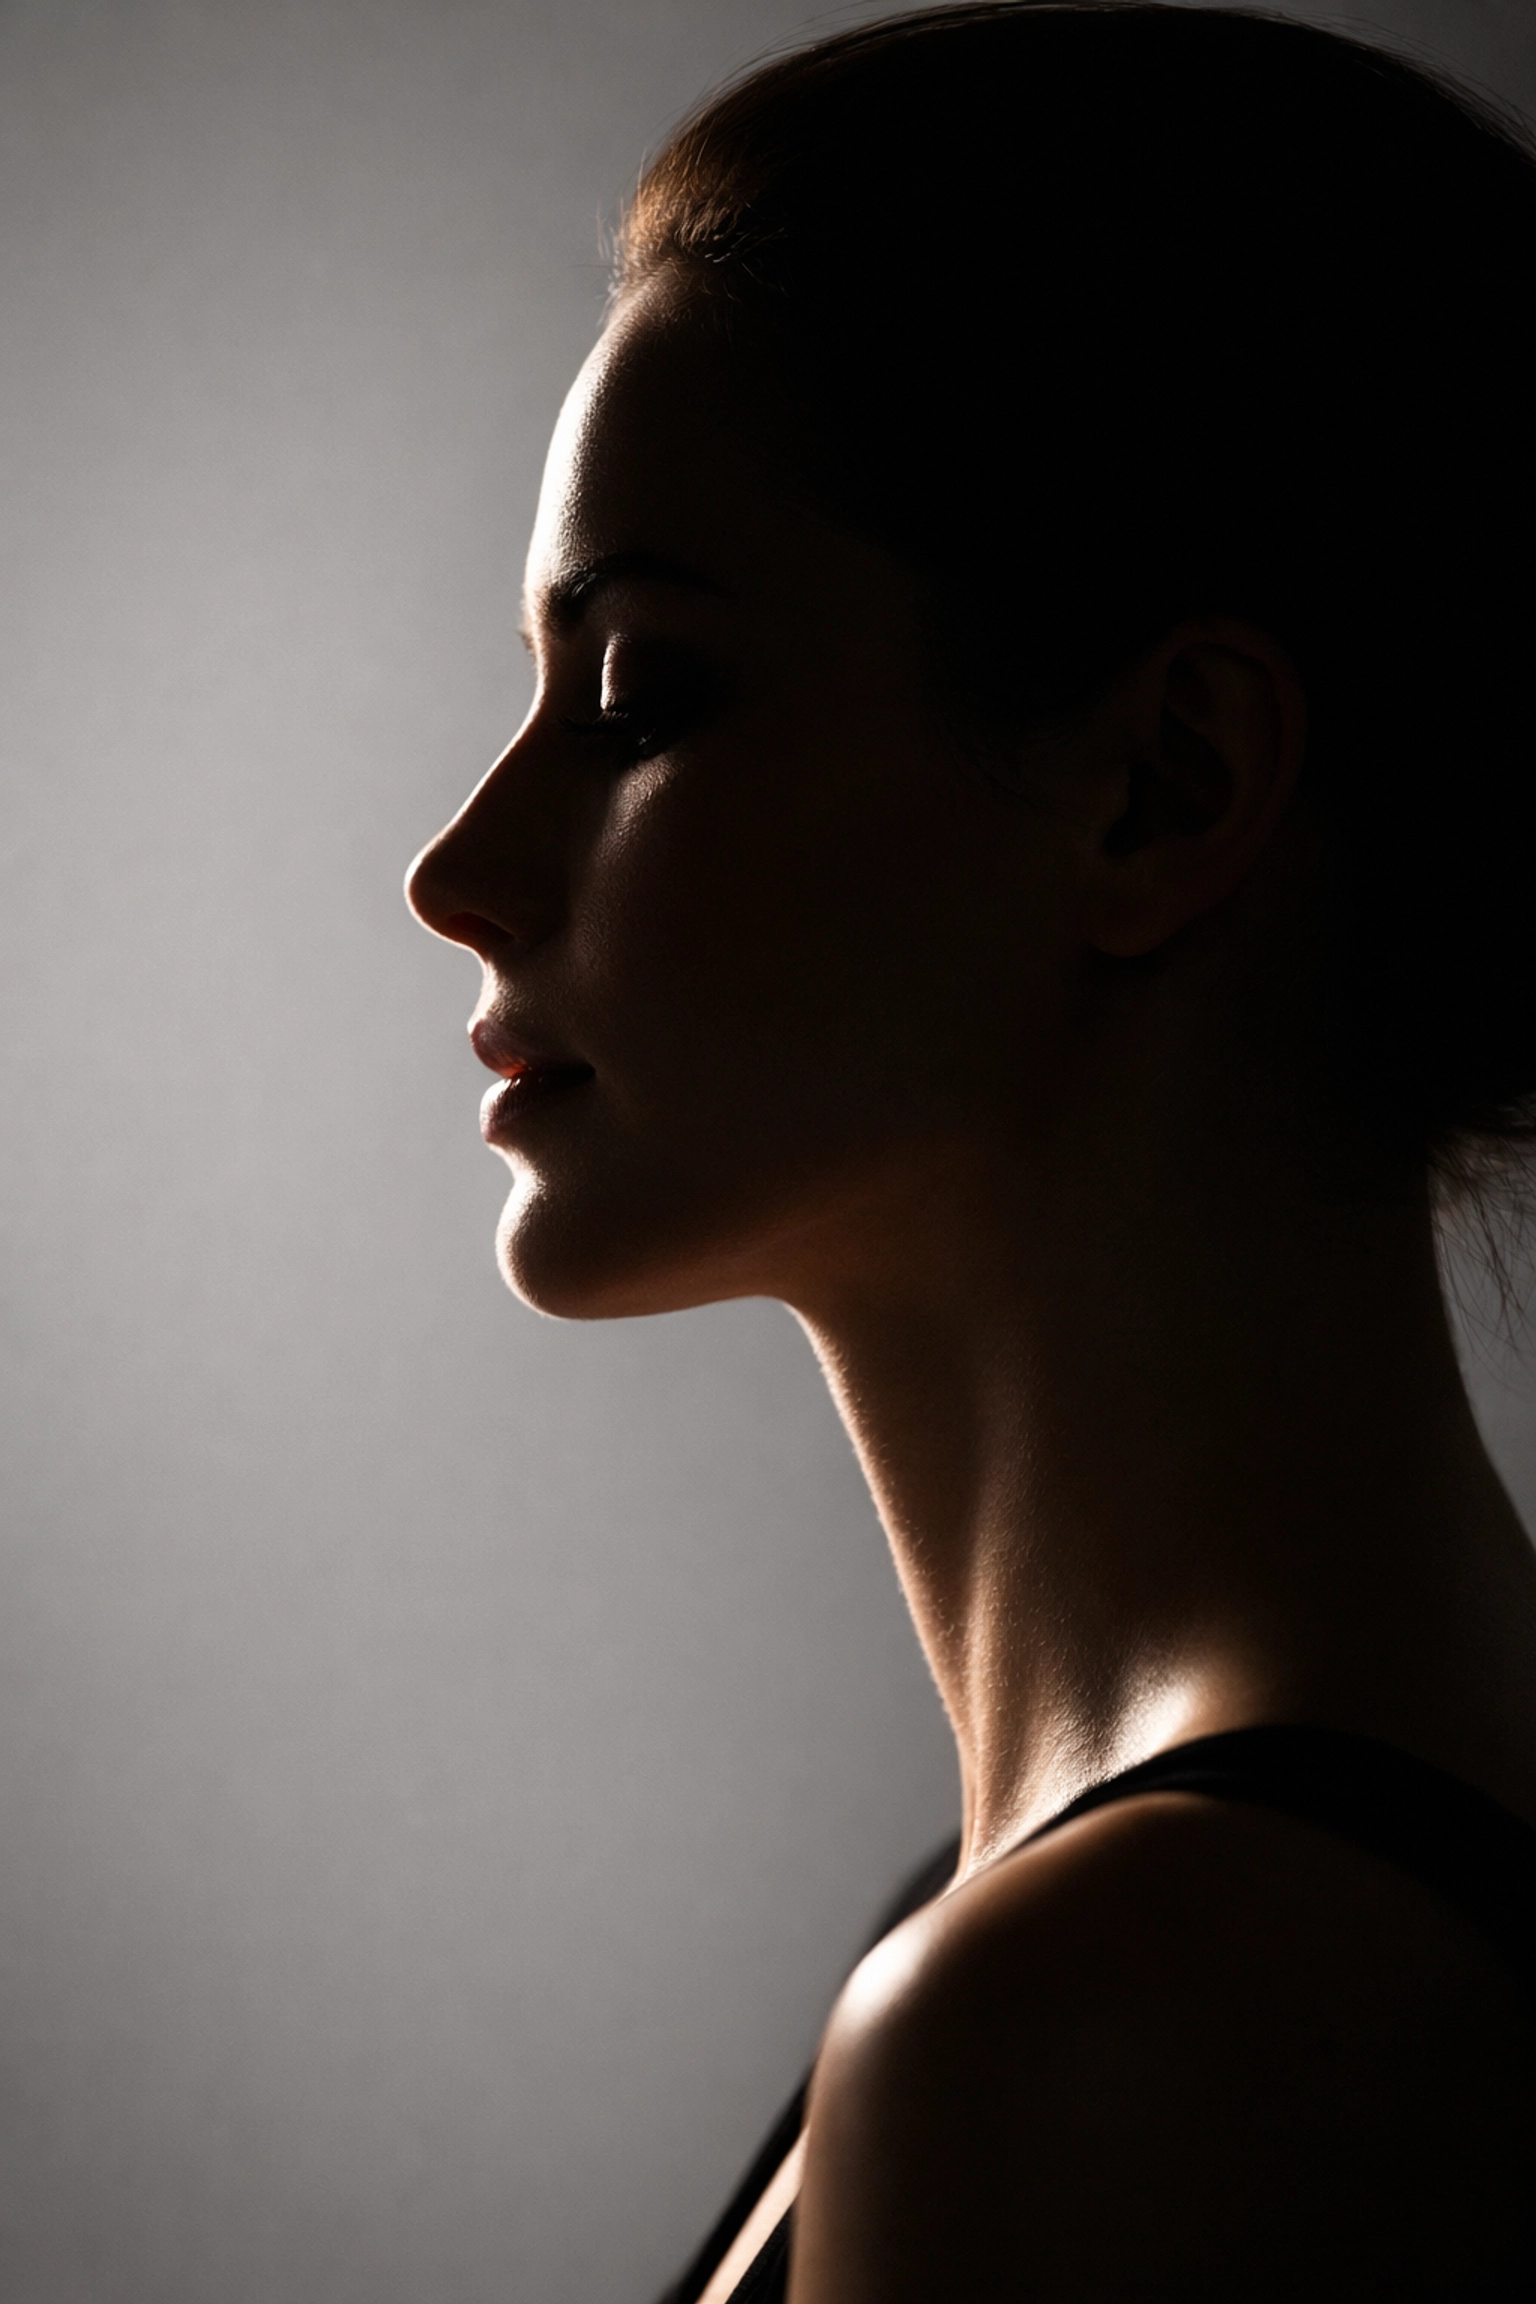
- Chase sculpting light. Chiaroscuro (that classic light-to-shadow drama) is a cheat code for mastering nude photography because it turns anatomy into design.
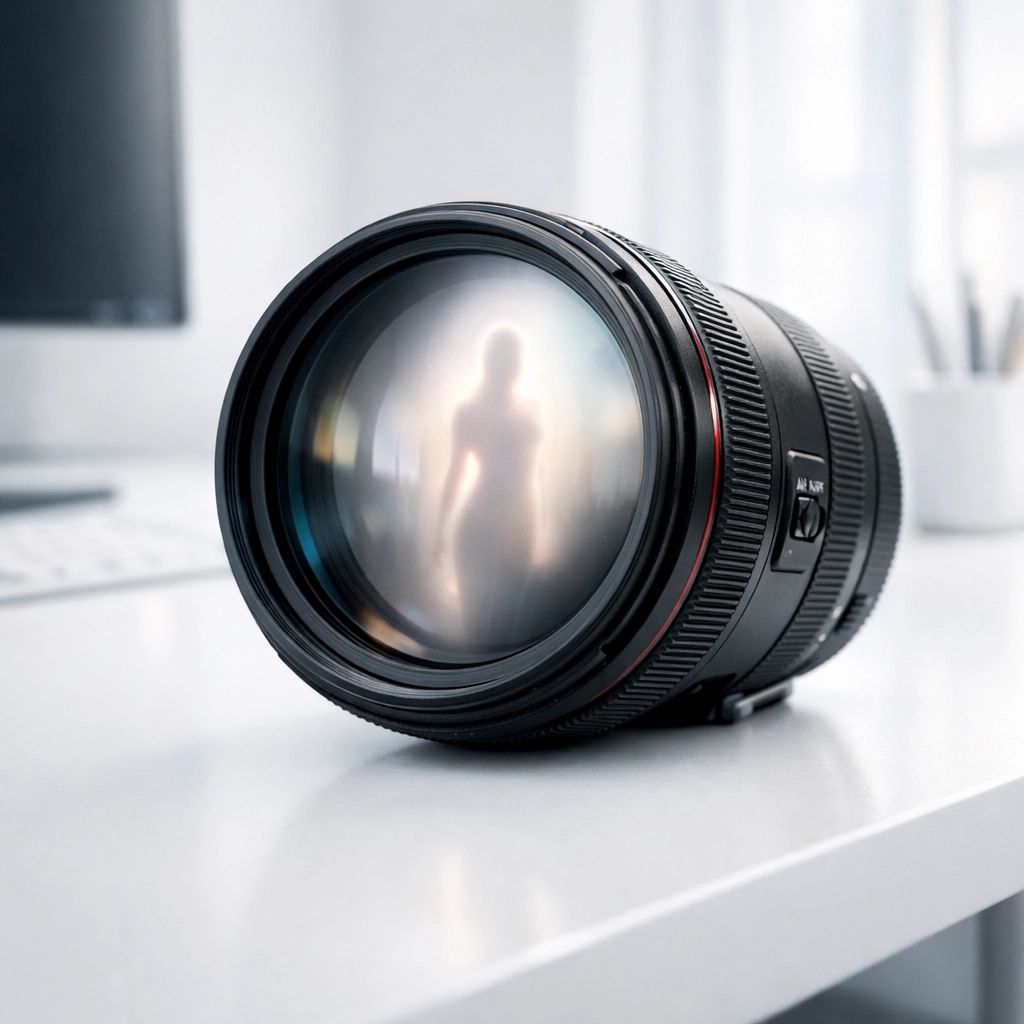
When you’re planning sets, it also helps to sketch poses and lighting before the shoot—some photographers use tools like CandyAI to quickly generate reference concepts for pose flow, lighting mood, or composition ideas, then translate the best bits into real-world direction with a live model.
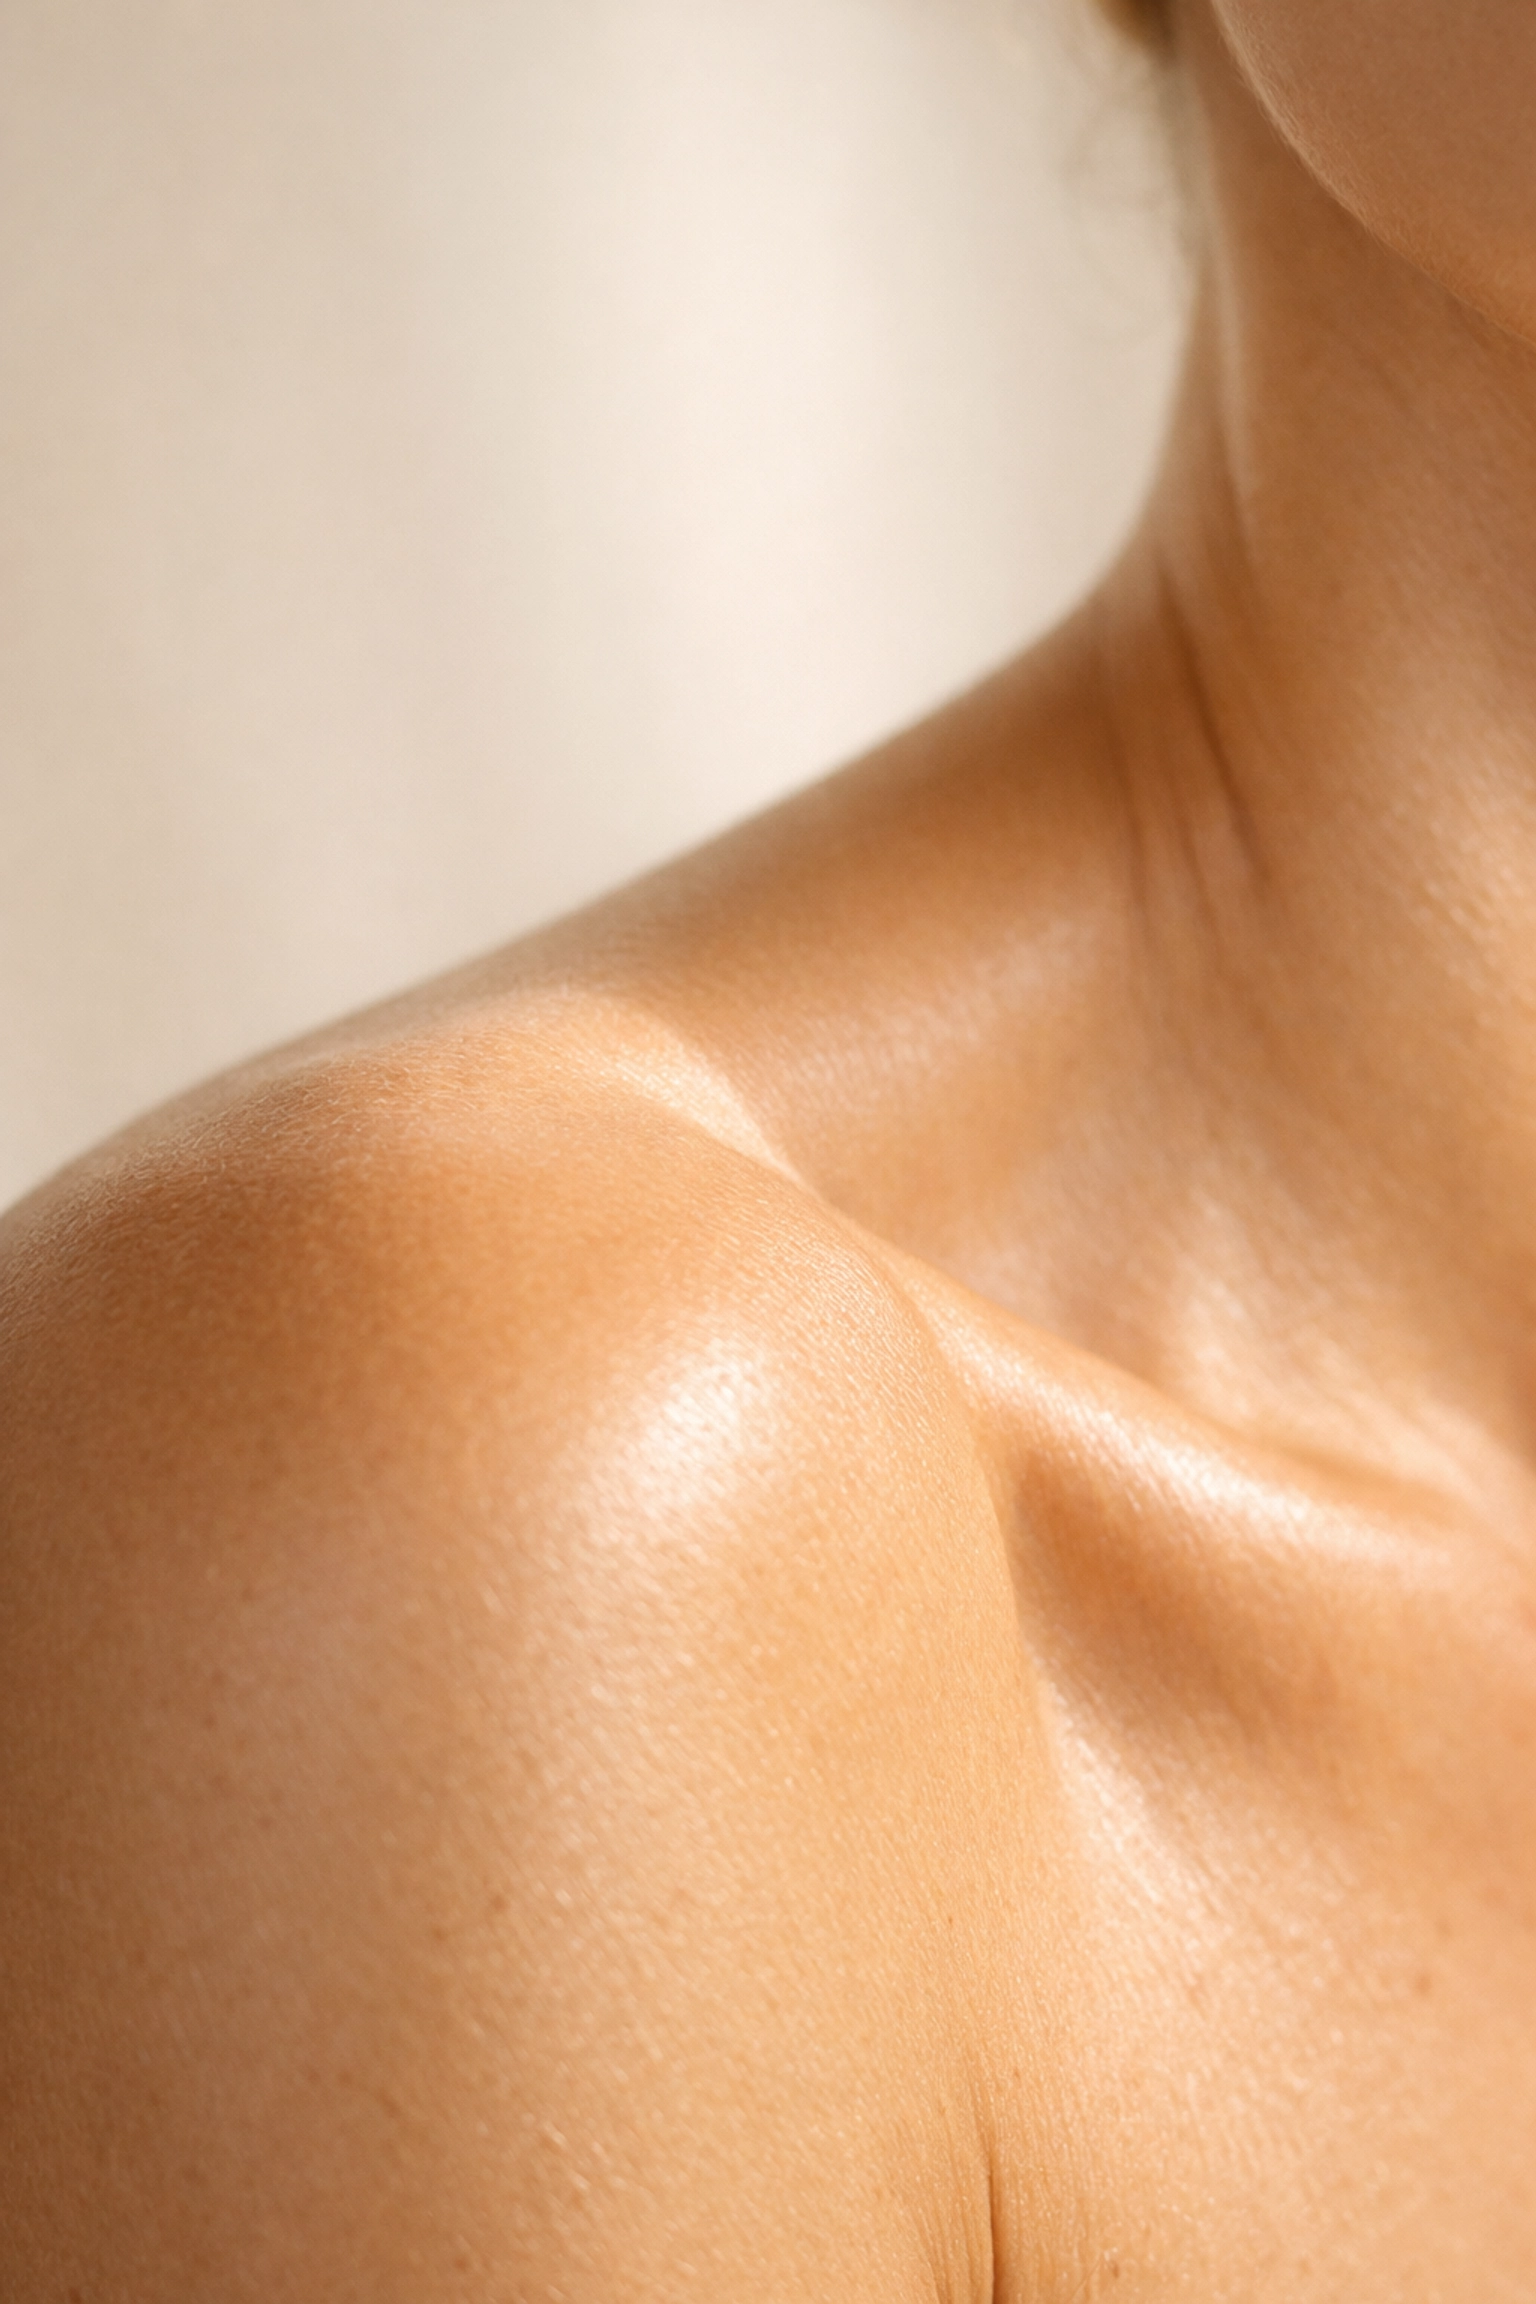
3) Nude Photography Lighting: how to avoid “flat” and get sculpted results
If your images feel flat, it’s almost never the model—it’s usually the light placement (or too much of it).
Try this simple setup first:
- One key light, placed to the side. Aim for about 45° off the camera axis. Side light reveals curves and texture.
- Control spill. Use a grid, barn doors, or flagging so light doesn’t fill every shadow.
- Keep the background clean and darker. Low-key fine art nudes often look best when the background doesn’t compete.
- Add shine only if it fits your style. A tiny bit of skin moisture can help highlights pop, but don’t let it turn into “glossy everywhere.”
Want more lighting breakdowns and example sets you can reverse-engineer? Browse what we’ve published in the club’s main hub at Fine Art Nude Club—it’s easier to master fine art nude photography when you can study consistent series instead of random single shots.
4) Directing the Model: posing that looks natural (and reads as art)
Posing for fine art nude photography works best when it’s simple and readable. You’re not “building a mannequin,” you’re guiding lines.
A few reliable prompts that keep things calm and effective:
- “Give me space between your arms and torso.” Those little triangles of negative space add elegance instantly.
- “Lead with one shoulder.” Turning the body slightly creates depth and avoids the “straight-on” look.
- “Slow movement, hold the halfway point.” Micro-movements often look more natural than hard, frozen poses.
- Focus your plane. In close work, focus on the nearer eye; in bodyscapes, focus on the leading shoulder/hip line.
And the real secret: talk like a human. Explain what you’re doing, show back-of-camera when it helps, and keep consent and comfort as non-negotiables. Better trust = better images, every time.
5) Post-Processing Fine Art Nudes: keep skin real, keep gradients smooth
Editing is where fine art nude photography can either become timeless… or get that crunchy “overcooked” look.
My practical workflow:
- Expose for the highlights. It’s easier to lift shadows cleanly than to rebuild blown skin.
- Go gentle on texture/clarity. A little goes a long way—especially on skin.
- Watch your gradients. Banding shows up fast in low-key shadow rolls; edit in 16-bit if your software supports it.
- Dodge & burn > global contrast. Sculpt the body the same way you did with lighting—selectively.
If you like exploring different color moods before committing to a full edit, CandyAI can be handy for quickly mocking up lighting/toning ideas and building a reference “vibe board” you can then recreate with your own RAW files.
6) Quick checklist (so you can repeat great results)
Before you shoot, run this quick loop:
- Concept: What’s the story—shape, shadow, softness, strength?
- Light: One strong key light first, then add fill only if needed.
- Background: Simple, neutral, uncluttered.
- Pose: Create clean lines and intentional negative space.
- Edit: Preserve skin texture, keep gradients smooth, dodge & burn with restraint.
If you want more galleries you can study, plus tutorials that walk through setups step-by-step, explore what we’re building at Fine Art Nude Club—and when you’re ready to go deeper, you can sign up here to get full access to the growing archive.